This is a rough and dirty update for my series “Qt 4.8.4 on Windows for IDA Pro C/C++ plug-in development”.
With the new IDA Pro 6.9 comes the newer Qt 5.4.1. Luckily upgrading from Qt 4.8.4 to the 5.4.1 environment for plug-in development turned out to be pretty easy as it’s not that much different.
Later this Hex Rays IDA 6.9: Qt 5.4.1 configure options & patch blog post came out, then this somewhat relevant one too IDAPython: migrating PySide code to PyQt5.
Part 1: Installation
Here is the steps:
1) First I uninstalled Qt 4.8.4 including the Qt extension I had installed in MSVC 2013. Maybe you’ed want to keep it around for building pre-6.9 plug-ins still, but I wanted to make sure I had a clean environment to avoid any conflicts.
2) Next I installed MSVC 2015. As it says in the Hex Rays blog post above, 2015 was used to build IDA 6.9, plus it was time for me to upgrade anyhow since at least “Update 1” had been released.
3) Download and run the Qt 5.4.1 installer.
I chose to install it to “C:\Qt\5.4.1”.
4) Next you’ll want to configure Qt. This step will do the minimal build nessary to get tools like “qmake.exe” and to setup the proper environment for IDA plug-ins.
This is the way that worked for me, but you might be better off using the patch and setting up the config as shown in the Hex Rays post.
A) Open up a command console (Win+R “CMD.EXE”)
B) “cd C:\Program Files (x86)\Microsoft Visual Studio 14.0\VC”
C) Run “vcvarsall.bat” to setup the MSVC 2015 build environment.
D) “cd C:\Qt\5.4.1\5.4\Src\qtbase”
E) Run “configure -debug-and-release -platform win32-msvc2013 -qtnamespace QT”
It might take a minute or two then that’s all you’ll need to do here.
You could do the full build now if you wanted (to build the Qt examples, etc.) but it will take quiet a while to finish building, plus you’ll expand the install folder size to around 6GB.
For that matter you can reduce the szie of the minimal config build by deleting all the .lib files. The only Qt lib files we actually need are from IDA SDK 6.9 “\lib\x86_win_qt”. But before you try any of this make a back of the Qt folder first.
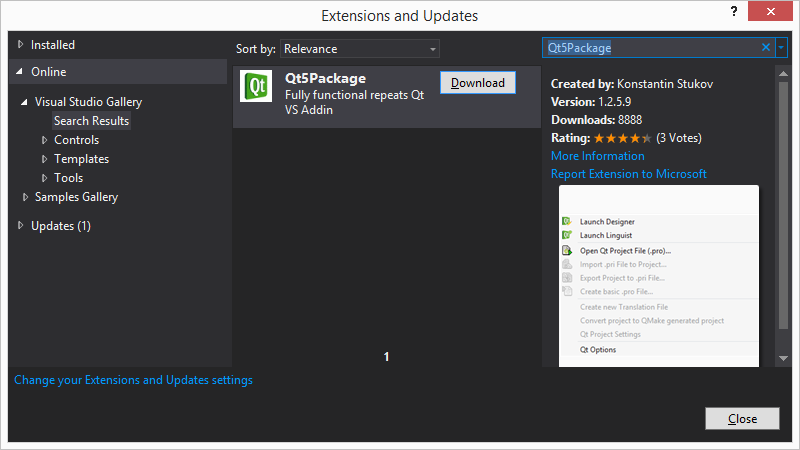
5) Install the MSVC Qt extension.
Download directly from Qt5Package or get it from MSVC extension manager
like this:
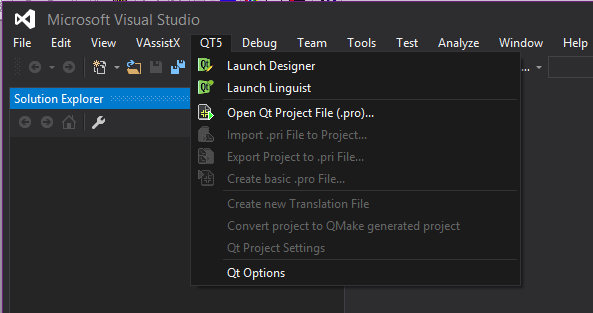
And after you installed the extension you should see a new “QT5” menu in Visual Studio like this:
Update:
Even though with the above setup I could update and build my plug-ins again, I figured I’d try full on IDA 6.9: Qt 5.4.1 configure options & patch way for the hell of it.
I had trouble running “full.patch” through TortoiseIDiff so I used python-patch and it appeared to work fine.
With the patch applied I ran the same substeps above from ‘A’ through ‘D’. Stop at ‘E’, this is where it’s different.
I ran the command line from the blog, only to find you also need to have Perl installed.
I installed the “Strawberry Perl 5.22.1.2 (64bit)” distribution from http://strawberryperl.com/.
You don’t have to restart the console, I just did a “set PATH=%PATH%;C:\strawberry\perl\bin” to append it to the opened console path.
Tried the command line again and this time it stopped after while complaining about “win32-msvc2015 not being a valid platform”.
Maybe the full.patch didn’t apply right, or maybe something is wrong in the blog post?
Anyhow since in substep ‘C’ above the “vcvarsall.bat” IS in the MSVC 2015 space there is probably not much difference.
I just swaped the “2015” with “2013” and it ran fine.
Here’s my final command line:
configure.bat -debug-and-release -nomake tests -qtnamespace QT -confirm-license -accessibility -platform win32-msvc2015 -opengl desktop -force-debug-info -prefix C:/Qt/5.4.1
Configure ran fine and completed in less than a minute.
I decided to do the full on build on my 3GHz Core Duo slave machine by running “nmake”.
It took a little over two hours to compelte and when it was done the C:/Qt/5.4.1 folder expanded to 5.6GB in size.